
How many of you know how to print a poster from your computer?
I had no clue it was even possible until a couple months ago.
Turns out, it's super easy!
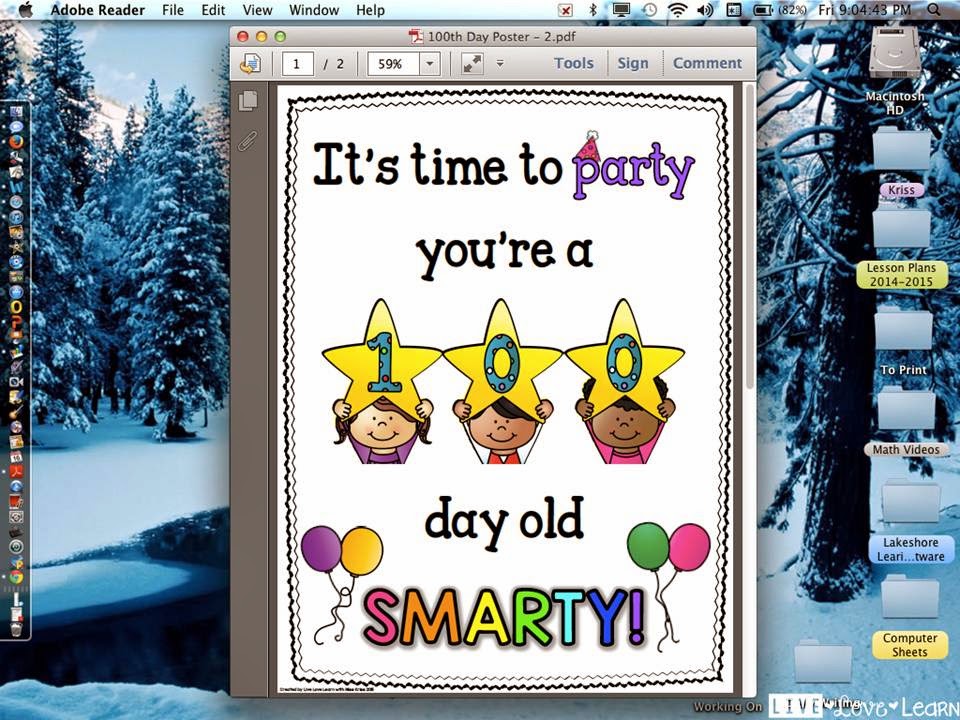
First, you pull up the document you want to make into a poster.
Our 100th day is coming up next week, so I decided to use this as my example since I needed it anyway.

Go to file and click print.

I honestly had never noticed these buttons across the middle.
The "size" button is automatically selected.

To print your page as a poster, you will need to click the button that says...poster!
Imagine that!
Still can't believe I had never noticed these buttons before.

First thing you want to do is click the little box beside "Cut marks." Doing so will make sure that when your poster prints, you will have little marks that show where you need to trim your paper so that the pages line up together.
The next thing you need to look at is the Tile Scale. The Tile Scale will automatically be set at 100%.
This means your poster will print on 2 sheets of paper.
If you look at the example that the arrow is pointing to, you will see the outlines of the two pages. The dotted lines show where the pages will need to be cut and taped together.
I haven't actually tried printing a poster at 100%, but from what I can tell, your poster would actually be the same size as it would be if you printed it on one page. (I may be wrong though) You would just have 2 pages to trim and tape together. So I've never used that Tile Scale before.

If you change the Tile Scale to 150%, your poster will now print on 4 pages.
I have used this setting. I used it to print posters last Fall for our Fall Fun Night.
Once again, you can see the dotted lines that show you the outlines of the 4 sheets of paper and where you will need to trim the paper to make the pieces fit together.

I ended up using 200% for my 100th day poster.
By accident.
I accidently clicked print while I was messing around with the Tile Scale to see how big I could get my poster. Haha! Serves me right.
Funnily enough. This was the perfect size for my poster.
And as you can tell from the example poster, a 200% Tile Scale will make your poster print on 6 pages.
So just choose how big you want you poster to be by changing the Tile Scale, and then click print.

This is what they look like when they're printed out.
I definitely recommend that you print on cardstock. It just makes your poster more durable.
If you look closely, you can see how there is a .005 inch border around each page. You can reset this border when you are in your print menu. But I've always left mine at the preset amount.

The little marks circled in pink are the Cut Marks. Remember when you clicked that box? You won't be sorry that you did.
These little babies really help when you're trimming your paper.
A note on trimming the pages.
The first time I made a poster, I was at home, so I trimmed the edges with scissors. It was really difficult to cut in a perfectly straight line. So this time I used the paper cutter at school, then trimmed a little bit of the edge with scissors if I didn't cut close enough with the cutter.
I like to leave the left side pages with a border on the right. And then I cut off the left border on the right side pages.
Did that make sense?
I know what I was trying to say but reading what I typed kind of looks like gibberish.
You may need to just look at the pictures below to get an idea of how I put the pieces together.

Here you can see how I left a border on the left side piece and cut the border on the right side piece.
I like to tape 2 pages at a time, and then tape the big pieces together.
Tape goes on the back.
I suppose you really don't have to leave a border at all, you could just cut off all the borders and tape the edges together if you wanted to.

Here you can see how I cut off the bottom border on the top 2 pieces and the middle 2 pieces.

Here it is all taped up.
I then sent this through our school laminator. My Scotch laminator is too small.
Then trimmed up the page edges so that they were even.
Advice: the first time I made a poster, I tried to put the pieces together clockwise. It was totally frustrating and I had to keep pulling my pieces apart and re-taping them. This time I put 2 pieces together at a time and then put the big pieces together. So much simpler and almost no frustration. But like with most things, it may take a little practice.
It is such a simple thing, but I love having poster size pages of things I create!
This 100th day poster is going on the wall so that I can take pictures of each of my kids with it, while wearing their 100th day glasses and 100th day crowns of course. Go big or go home! Our 100th day is going to be a party!
Next post, I'll show pictures of some fun activities from our 100th day!

No comments:
Post a Comment