

Have you heard about rekenreks?
They are this awesome math counting tool. Kind of like an updated abacus.
I first heard about these awesome tools when some teachers in my county studied the book Number Talks this summer.
If you haven't read the book. You need to now! Especially if you teach K-4.
It's quite pricey, but comes with a DVD full of videos that show great teachers using number talks in their classrooms.
Anyways, my kindergarten team and I started researching ways to purchase or make rekenreks.
So when I went to my TNCore training in February, and saw a neat make-it-yourself rekenrek, I knew that was the route to go for me.
The ones pictured above were made when my TNCore training buddy and I went back to our school and trained our fellow K and Pre-K teachers. We used school colors.
Are these the most durable rekenreks?
Probably not
Are they quite cost effective and easy to make?
Yes
One teacher on my team bought some awesome rekenreks from here on TpT. They are durable and extremely well made! If you don't want the fuss of making your own and want a durable alternative, I would definitely recommend the ones from link.
But when I saw the neat rekenreks at my training, I decided to try and make my own first and see what happens.
So here is what you need:
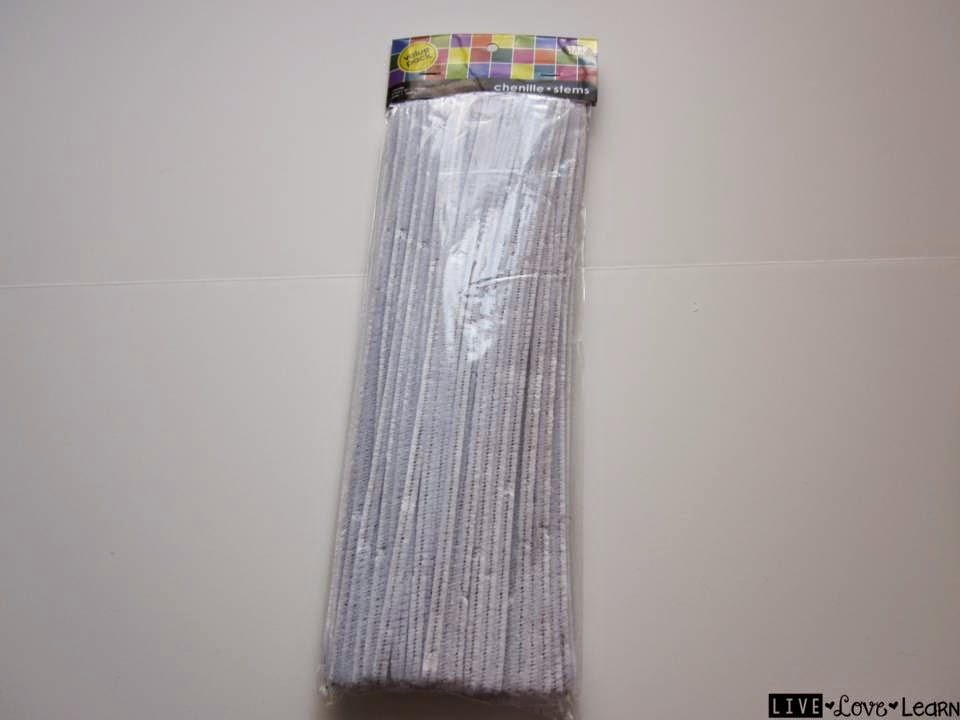
chenille stems
fat popsicle sticks from a craft store (do these things have an actual name?)
You don't have to put a handle on your rekenrek, but the reason I did was so that students would turn their board around to face me instead of flipping it upside down to face me. I wanted to make sure that they always had the same color on top as me. I don't know if this would make a difference or not. But it seemed like a good idea.

beads in two different colors
(I bought this awesome set from Amazon because I loved all the colors and knew I could use the remaining beads for lots of other things. I love these beads because there are pearl, bright, and glitter beads in each color.)

Also a hot glue gun, sharpie, and single hole punch.

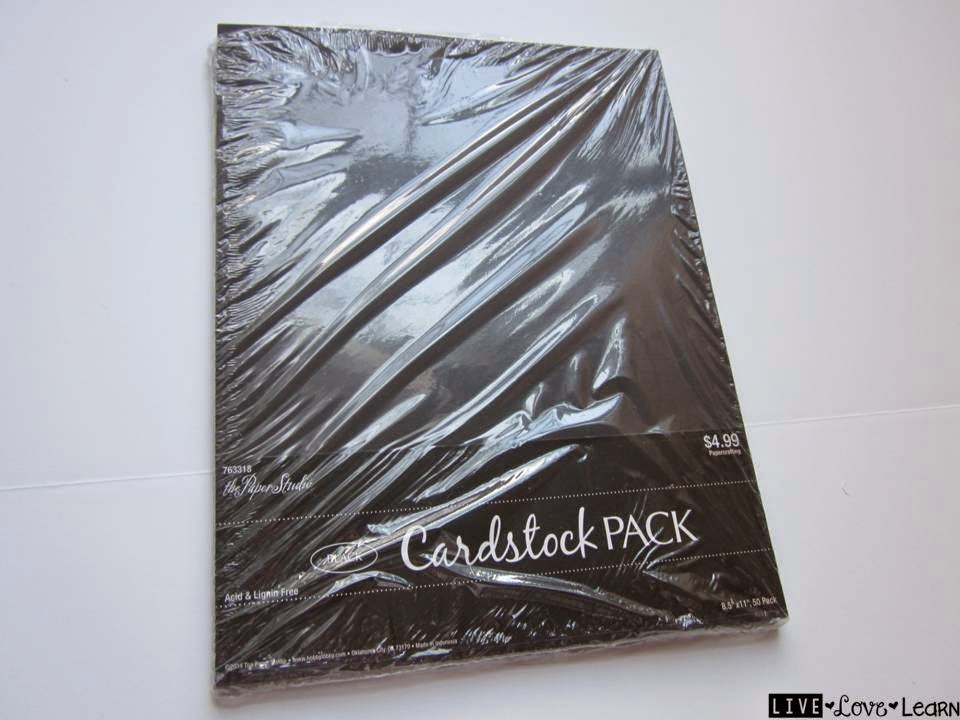
And cardstock.
I went with black so that the bead colors would pop. But white would work just as well too. I bought this pack at Hobby Lobby.
First you'll want to laminate your cardstock.
You need a full page for the teacher rekenrek, and half pages (cut long like a hot dog) for the student ones.

First we're going to make the student version.
Lay the cardstock horizontal.

Then fold the left edge over to the right edge like you're folding a book.

Cut 2 snips right on the folded seam.
I cut pretty far in on both sides and left just a half inch connected in the middle.

Make 4 holes.
First I measured and marked where I wanted the holes to go. Make sure you measure top to bottom. If you hold a ruler, going top to bottom, the height should be about 4.5 inches. I made marks at the 1.5" and 3" spots.
Then punch the holes.
This is why you want to cut the folded seam, so you can get the hole punch in the fold and punch 2 holes on the top without punching holes on the back sheet.

String 10 beads on 2 pipe cleaners.
As you can see, I switched this up a little. In the example I showed above, I did 5 and 5 of each color, top and bottom. I thought putting the colors this way, 10 of each color together, would help my kids see 10 and then add on. We work some much with ten frames in kindergarten when introducing teen numbers, I thought this would a continuation of that strategy.
I'll let you know if this idea worked out or not.
If you teach Pre-K, you might just do 5 total beads on the top and 5 beads on the bottom. So they can work on 5 and then add on.

String the chenille stems through the holes.

I pulled mine as tight as they would go and then wrapped the stems around themselves.

And then added a whole lot of hot glue to keep them in place.

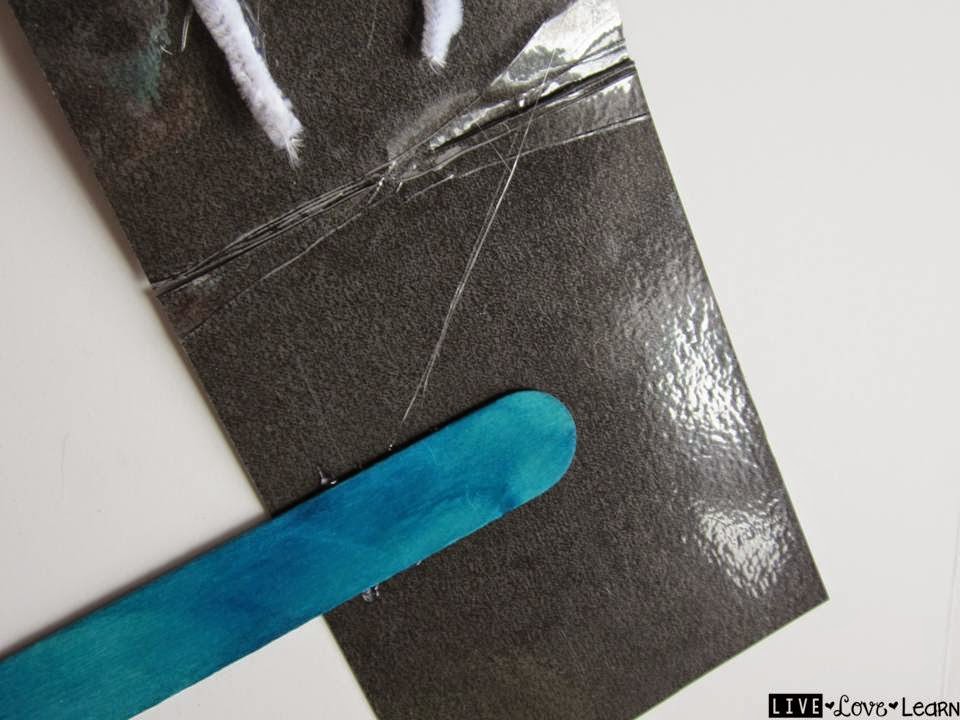
Next I hot glued the popsicle stick.
If you use the colored sticks like mine, make sure to check them over first. Some were very thin, some were warped, and others were split down the middle. If I had to do this over again, I would just use the plain wooden ones. I've never had any issues with those before.
Then hot glue all around the edges and press the top and bottom together.
Here you go!
One student rekenrek finished!

Now I only have to make like 24 more.
I'm making some extras so that in case some break, I'll have extras on hand.
Now for the teacher rekenrek.
Take a full sheet and lay it vertical.

Fold it in half by folding the top edge to meet the bottom edge.

Make your measurements on the side again.
This time I made my marks at 2" and 3.5," measuring from top to bottom, but could have probably spaced them out a bit more.

This time you don't have to cut slits in the fold. Just hole punch the sides.

String your chenille stems through.
This time they wont be long enough to wrap around each other. So I used a lot of hot glue and glued them down to the cardstock.

Hot glue your popsicle stick down.
Then glue the edges all around. But don't get the glue too close or it will squish out the sides and burn your fingers. Yes this happened and it wasn't fun.

And here are the finished products!

I love how they turned out!
Of course I also love that I used two of my favorite colors!

No comments:
Post a Comment