I love teaching kindergarten!
But I hate glue sticks!
At the beginning of the year it's fine because we seem to have a limitless supply. Then around Halloween, as our supply begins to dwindle, I become the glue stick police.
"Make sure you twist the glue stick down before you put the lid on it."
"Who's lid is on the floor?"
"No, you cannot have another glue stick just because you forgot to snap the lid on and it dried out!"
Glue sticks become the bane of my day!
Okay, I'm being a little dramatic here. But they seriously drive me nuts!!
So I saw this pin last summer as I was trolling pinterest.
Glue sponges!
Sounds like a great idea.
But do they really work?
I didn't give it much thought until Thanksgiving when we seriously ran out of glue sticks.
So I searched on Pinterest to see if anyone had actually tried to use these glue sponges with any success.
And not only did I find someone who used them, but he made a video and posted it on YouTube.
If you don't already know who I'm talking about, it's Greg from The Kindergarten Smorgasboard!
I watched his video and was like, that is so easy!
But it gave me the confidence to go out and buy all the materials and give it a go.
Okay, being dramatic a little bit again.
I made 2 glue sponges for each table. I have 5 kids per table. So 2-3 kids are sharing each container with no issues. One of the first grade teachers at my school made one container for each of her kids since they sit at individual desks. I was still a little hesitant though when I first made these, so I didn't want to invest in buying each child their own before I knew they worked.
But now I've realized that I need a few more glue sponges. I need one for me, extras for our art center, and extras in case someoneis in timeout has to go work at a table by themselves.
So I thought this would be a great time to show how easy they are to make!
I made 2 glue sponges for each table. I have 5 kids per table. So 2-3 kids are sharing each container with no issues. One of the first grade teachers at my school made one container for each of her kids since they sit at individual desks. I was still a little hesitant though when I first made these, so I didn't want to invest in buying each child their own before I knew they worked.
But now I've realized that I need a few more glue sponges. I need one for me, extras for our art center, and extras in case someone
So I thought this would be a great time to show how easy they are to make!
First gather up your supplies:
You need containers, sponges, and lots of liquid glue.
I bought my containers really cheap from Walmart.
I put about 1/2 to 3/4 of a bottle of glue in the bottom of each container. Depending on the size of your containers, you may need more or less.
Lay your sponges on top.
The containers I used for my original glue sponges were square. So I used 1 and a half sponges to cover the bottom.
Pour more glue on top.
Put the lid on and let them sit over a weekend. I made these right before we left for Spring Break. By the time we get back, the sponges will have soaked up all the glue and be ready to use.
They took a little getting used to at first.
Like with anything else in kindergarten, I had to show my kids how to use them.
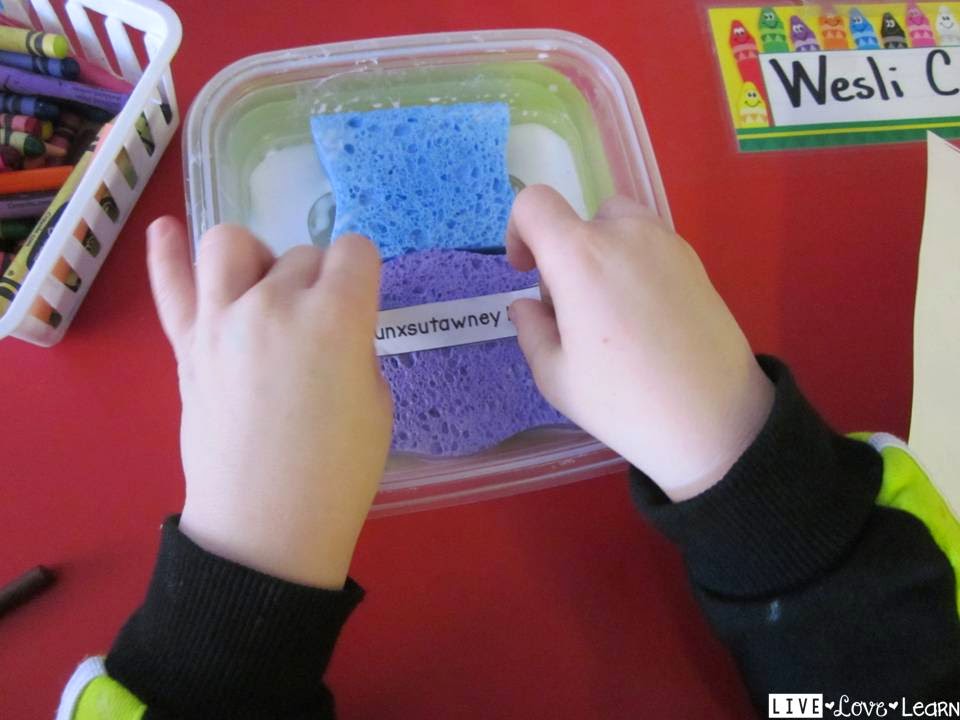
I demonstrated how to gently press their piece on the sponge, not the glue at the bottom, without getting glue on their fingers, and how to get glue on a big piece of paper (like for an art project).
It took a little practice not getting glue on their fingers or soaking their piece of paper, but now they are pros.
When we aren't using them, they stack up nicely in the middle of each table.
And then when we need them, my kids know who shares with who, they share with whoever sits across from them and kids on the end share with their elbow partners, and where the glue tubs go, on their name tags, so that everyone has equal access.
I do find that I have to "refresh" our glue sponges every 2-3 weeks. So I just have my kids open up the glue sponges on a Friday afternoon, and I'll walk by and squeeze some more glue onto each sponge. We close up the container, stack them up, and by Monday the sponges are soaked with glue again.
Another tip that Greg shared was to make a spray bottle, I bought a medium sized bottle from Dollar Tree, with a lid-full of Listerine and the rest water. Shake it up and spray each glue tub every few weeks. This kills the bacteria that might be trying to grow in the moist sponge and makes the glue sponges smell nice.
Yes, I've caught my kids sniffing the glue sponges. Better than eating the glue I suppose. And so far I haven't had any issues with mold growing in the bottom of my containers.
So with a little preparation, and a little training, we've got these glue sponges down pat. I don't know if I even want to introduce glue sticks next year. They are that awesome!
So give them a try!


No comments:
Post a Comment