This is one post that I have been thinking about for a long time, planning for a long time, and of course, procrastinating for a long time.
I love centers, and I knew that when I did a blog post about this that it would take some time to do it justice. So here I am, it's a Sunday afternoon. I've got my Cherry Coke beside me and I'm ready to go.
Center time is one of those sacred Kindergarten activities. Many administrators, older grade teachers, and new teachers may not understand the importance of centers. But if you ask almost any Kindergarten teacher, they will tell you all about center time.
Why I love centers:
- They foster independent learning and responsibility
- Time management skills
- Using materials responsibly
- Responsible for own work
- Social Skills - students will need to get along with other group members and work together.
- They allow time for hands-on and/or discovery learning
- Students can touch and play with the learning materials which is how we know they learn best.
- They give teachers the opportunity to work with a small group
- Students can work independently in centers while the teacher is meeting with small groups or assessing students. The rest of the students will be engaged in learning activities, instead of doing "busy work."
- They can be used in different grade levels for different purposes
- Obviously centers will be more play-based in younger grades, but older grades could benefit from a rotating learning activities as well.
So while other grades can definitely use centers/rotations in their classroom, this blog post will be focused on implementing centers in Kindergarten. More specifically, how I implement centers in my classroom.
Do I expect everyone to conduct centers the way I do? No way
I do, however, hope that you get some good ideas to incorporate into your own center time.
Do I expect everyone to conduct centers the way I do? No way
I do, however, hope that you get some good ideas to incorporate into your own center time.
Setting up your Learning Centers
The first thing you need to do is figure out what materials you already have. This will help you decide which centers you can easily incorporate into your classroom.
Also make sure each center area has a clearly defined space for students to play and label any tubs, bins, baskets, or areas that are designated for a specific center.
There are actually 3 different centers in this picture.
The pink baskets are Muscle Hustle (fine motor skills), the black baskets are Creation Station (play-dough), and the blue and green baskets are Block Dock (blocks).
My kindergarten team and I went to an awesome training lead by 2 teachers from North Carolina almost 7 years ago. We've made a few tweaks along the way but have been mostly using their names for centers and their model for center rotation ever since.
My kindergarten team and I went to an awesome training lead by 2 teachers from North Carolina almost 7 years ago. We've made a few tweaks along the way but have been mostly using their names for centers and their model for center rotation ever since.
I revamped my center tubs this year, I decided they had been ugly long enough. So when I found all these cute baskets at Big Lots, I cleaned out 3 different stores. Sorry not sorry.
A little pricey, but I love the quality, the size, the handles, and the cute colors!
I don't regret spending the money at all.
In addition to the pictures of the center set-up, I thought you might like to see what is in each of the different baskets.
I have like a zillion baskets, so I'm just going to show a few.
These nuts and bolts came from Oriental Trading a few years ago.
I switch out the lacing cards seasonally so that my kids don't get bored.
Lately I've bought some fun seasonal lacing card sets from our Scholastic Book Orders.
I bought some Halloween ones, zoo animals, Cars, and sports.
I think it's very important to label each center with a matching card.
This way when a student is assigned to a center, they know exactly which baskets they can play with.
The center below is Observation Station (science). This is one of my kids' favorite centers.
These baskets are all from the Dollar Tree.
I cleaned out a few of those stores as well.
Sorry Knoxville teachers.
Real sea-shells.
Some of my kids have never been 100 miles away from home, much less to the beach. So this way I can bring the beach to them.
An assortment of color paddles, magnifying glasses, prisms, and bugs in plastic.
Gotta love lakeshore.
I also buy sets of science readers from Scholastic and put them in Observation Station. They love looking at the real photographs of sea animals and bugs.
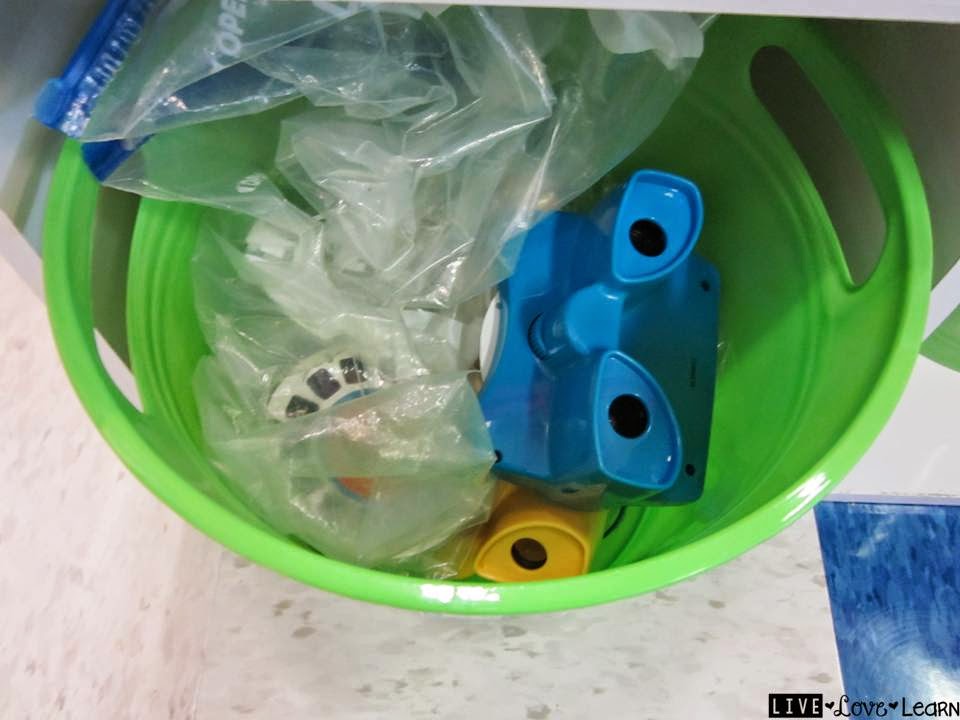
Do you remember View Masters?
I bought these animal sets from Lakeshore with my classroom money. The kids love looking at the 3-D pictures.
And of course animal toys/manipulatives.
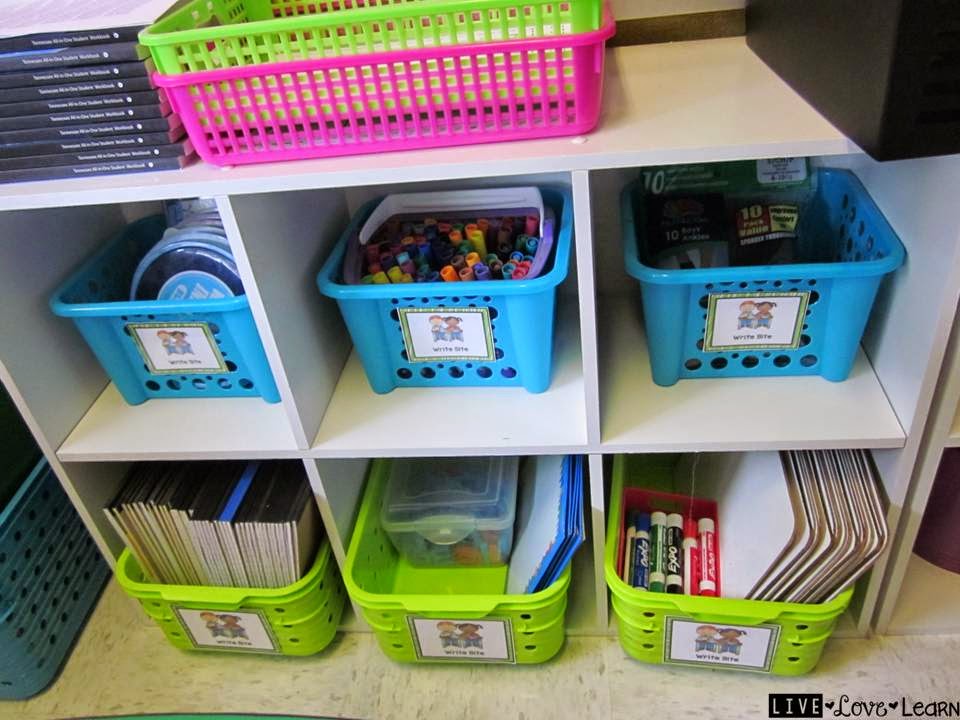
Next up is Write Site (obviously my Writing center).
This year I decided to try out DeeDee Wills' Writing Work Stations. They come in a bundle for the entire year, but I wanted to make sure my kids really like them first. So I bought the Aug/Sept set this summer. (That's the set in the picture)
I should've bought the bundle.
My kids love it!
And it's super easy to use. You just print and hang the cards for the entire month. Then I pick out a different recording sheet for each week of the month. This has become my no-hassle center and I love it.
The October set is up right now, and when I started hanging it up at the end of Sept my kids got really excited. I've already purchased, printed, and laminated the November and December sets.
Check them out here.
I do one example of the recording sheet each week and have the students' recording pages handy.
The paper baskets came from Really Good Stuff.
I also keep additional writing supplies in case I want to switch things up or use these supplies whole group.
Once again, everything is labeled with the center picture and name.
I purposely have the name and a matching picture because, let's face it, most 5 year olds can't read that well. So I teach them to identify the centers by the pictures and then they begin to learn and identify the words as well.
Puzzles
And Hearing Clearing (our listening center).
The other basket is for recording pages, but when I took this picture we hadn't started using recording pages yet.
New teachers always ask how to start building a listening center.
Three Words: Scholastic Book Orders!
Each month Scholastic will usually have a set of 4 books and matching CDs. Use those extra points you earn from parent orders, I used my own money too, to buy 3-4 copies of the books you like and the CD (the matching CDs are available only to the teachers, just look for it when you place your order online). I did this every month my first year of teaching and built a listening center that takes up two big tubs.
I was going to switch over to an iPod listening center last summer. I had an old iPod mini from like 2004 that I was going to use, but unfortunately it was stolen from my desk at school. So I still use my CD player. Was so not happy about that.
The CD player is very fickle though and I'm the only one allowed to touch it to turn a story on or off. For some reason if a student touches it, the CD will quit playing and say error.
Book Nook
I wish I had a bigger area for my Book Nook. But you use what you've got.
My classroom is quite large, it was built in the 1920's, but I have one wall of windows and cupboards, and another wall of bathrooms and closets. So even though it's bigger, I'm lacking in wall space.
This basket contains class-made books and old anchor charts.
I love using anchor charts on my focus board to remind the kids what we are learning about all week. When the anchor charts come down, they go in a folder with plastic sleeves. This way they are stored but still being used.
The kids like to get out the old ones and "read them."
Gotta love magazines!
Highlights, National Geographic Young Explorer, and any other samples I get sent in the mail.
My reading center books are not leveled or organized. If yours are, bravo!
So those are all the centers that have an actual location somewhere in the room.
These next centers are usually a game or a practice page that students will take back to their seats to complete.
Here's another Muscle Hustle.
Another Lakeshore game.
Can you tell where I've spent almost all of my classroom money for the last 9 years?
I love Art Mart.
It gives me the opportunity to sneak in art.
I never thought I would have to "sneak in art." So sad.
Alphabet Set is obviously our ABC practice center.
And of course the kids need somewhere to turn these papers in so they aren't bothering you while you're trying to work with a small group.
I always keep markers in my basket so that if I have a moment, I can grade some papers and I won't have to hunt down a marker.
Alrighty, now that centers are set up and labeled, it's time to introduce centers to your classroom.
Introducing Centers
By the end of the year, centers run like clockwork. So when a new school year begins and I have to train a new class, I always forget what I did the last year.
Do you do that too?
So this year I took pictures so that I could remind myself next year!
In my county, we phase-in our kindergarteners.
Thank goodness!
So we have 4 small group days where 4-5 different kindergarteners come each day. This allows use to explain rules, go on a tour of the building, work on a lunch routine, assess, introduce centers in a small group, and then send the kids home at 11:30. I love these half days!
I start introducing centers the first day of school.
For those first 4 days I chose 4 play centers: Block Dock, Puzzles, Observation Station, and Book Nook.
I show each card to the students, tell them the name of the center, show them where it is, and how many baskets they can have out at a time,
The centers will be free-choice for a few days. So I explain to them how many students can be in a center at a time and what they need to do if they choose to go play in a different center (clean up and check to make sure it isn't full).
Then I let them choose where they want to go.
While they are playing I begin my Beginning of the Year Assessment with the students.
I also monitor to make sure that they are following the rules as well as give reminders about the rules.
When centers are over, I have students clean up. I stand right with them and make sure they put everything back exactly how it was. Training time.
After our small group days we have Half-Class days.
The first 2 small groups combine and come to school for 2 days. Then the last 2 small groups combine and come to school for 2 days.
It sounds a little confusing, but this is how my school has phased-in for over 10 years, so I've got this down pat.
So this will be everyone's second day of school, even though I have been through several days.
I add a few more centers: Muscle Hustle and Creation Station to the mix.
I introduce the new centers the same way I did on their small group day. And then I review the centers they played in on the first day.
Free-choice again.
But now I have double the kids and double the conflicting personalities.
After the Half-Class days we bring the whole group together. Still half-day though.
This is when I put them into center groups. I use colors (pink, orange, yellow, green, blue, purple) for my groups. I used to do 5 groups so that centers would take exactly a week, but there are so many weeks where we don't come to school for 5 days and it drove me nuts, plus I had to have a few more kids in each group.
Last year, each kindergarten class had 23 students, that was the most we've ever had, sorry if you have more than that. Well I knew that 5 groups would not work with that many kids, so I switched to 6 groups.
And I liked it so much that I did 6 groups this year even though I have 20 kids.
I love 6 groups!
I like that there are fewer kids in each group.
I like not rushing around on Fridays switching my centers for the next week.
They usually end in the middle of the week, and I'm okay with that.
It's nice not stressing that I get all the groups through all the centers by Friday.
They usually end in the middle of the week, and I'm okay with that.
It's nice not stressing that I get all the groups through all the centers by Friday.
Anyway, I went off on a tangent, I use student pictures on the group cards at the beginning of the year because I always have a few that have trouble remembering my name much less what their name looks like. (There names are on there too though)
I have a little girl this year who still calls me teacher; we've been in school 54 days. When I ask her what my name is she says "teacher." And looks at me like "duh."
Sorry, another tangent.
This is also when I practice rotating centers.
No more Free-choice...ahhh!
It rocks their world.
"But I don't want to play in this center." So sorry
"But I don't want to play in this center." So sorry
I want them to know what center group they're in, I want them to start remembering the other students who are with them, and I want them to start going to an assigned center.
I still break out free-choice centers every now and then, especially if I'm going to be out. There have been too many incidences during centers while I'm out - like 3 years ago when one of my girls convinced my substitute that she was allowed to take the center cards home...what?...I came back to half my cards missing, looked everywhere, and finally had to just print new ones.
So now the kids know, this is my center group, I stay with them, I don't leave my assigned center.
This is the law people.
This is the law people.
After a few days of practicing the groups and assigned centers. I break out 2 centers.
Each group will now go to 2 centers
- Main Course - first center - this is hands-on practice and review. Students do not leave this center until they have completed the assignment. So if they talk, play, or procrastinate; they are taking away their own play center time - time management skills here
- Dessert - second center - this is a play center that students can stay in for a good amount of time and can never actually "finish."
The first day I introduce this concept, it takes awhile to explain. I also don't plan any small groups for at least the first week of this because I will be monitoring everyone and making sure they are following center rules and staying in their center.
I have found that if I lay down the law at the beginning of the year, they know what is expected of them, and centers will run so smoothly for the rest of the year.
A student misbehaving in centers receives one warning, after that, they will have a time-out from that center where they go back to their seat and practice handwriting.
Oh they HATE practicing handwriting, so I usually don't have many issues with behavior.
At the end of each day I rotate the group cards. Pink always starts at the top. Then I move it to the bottom and the others move a spot up. When pink gets back to the top, I know it's time to change centers.
I don't use the same centers every week. So I keep my extras in this little magnetic mesh basket.
So here are some pictures of my centers in action.
Main Course Centers
Hearing Clearing
I don't mess with headphones, they get tangled and drive me nuts.
I just play the book on lower volume and we all listen to it.
By the end of the week my kids can usually quote the books. Especially the Pout Pout Fish. If you've heard that book you know what I mean.
This was my students' first day in Write Site.
This was the next week.
See what I mean about the same set of cards, just different recording sheets.
As my kids would say "Easy peasy, lemon squeezy." For me at least.
Math Path
This sorting activity, and the shape activity below, both came from Miss Kindergarten's Back to School Centers.
Counting practice with the Moffat Girls' Back to School No Prep Pack. I love me some Moffat Girls No Prep pack. Pretty sure I own them all.
.
Math Lakeshore game.
September window art.
I decided last summer that I wanted to do a different window art activity every month. I have an entire wall of windows (if you've seen my classroom tour you know what I'm talking about), so I might as well decorate them with cute kid art.
Muscle Hustle - the nuts and bolts from Oriental Trading.
This was a new find this summer.
This is A Teeny Tiny Teacher's Pin It {Alphabet Edition}.
We talked about rules for handling a push pin for at least 5 min before I even considered handing any over. A push pin is NOT a weapon.
So far so good.
So far so good.
They loved it!
Alphabet Set - The above activity is from...you guessed it, Lakeshore.
Another Alphabet Set - Deanna Jump's ABC Puzzles.
Dessert Centers
Byte Site (computers)
- we used to just play Starfall (my favorite website)
Now I've found Sharing Kindergarten's ABC Computer Center Sheets.
My kids love them!
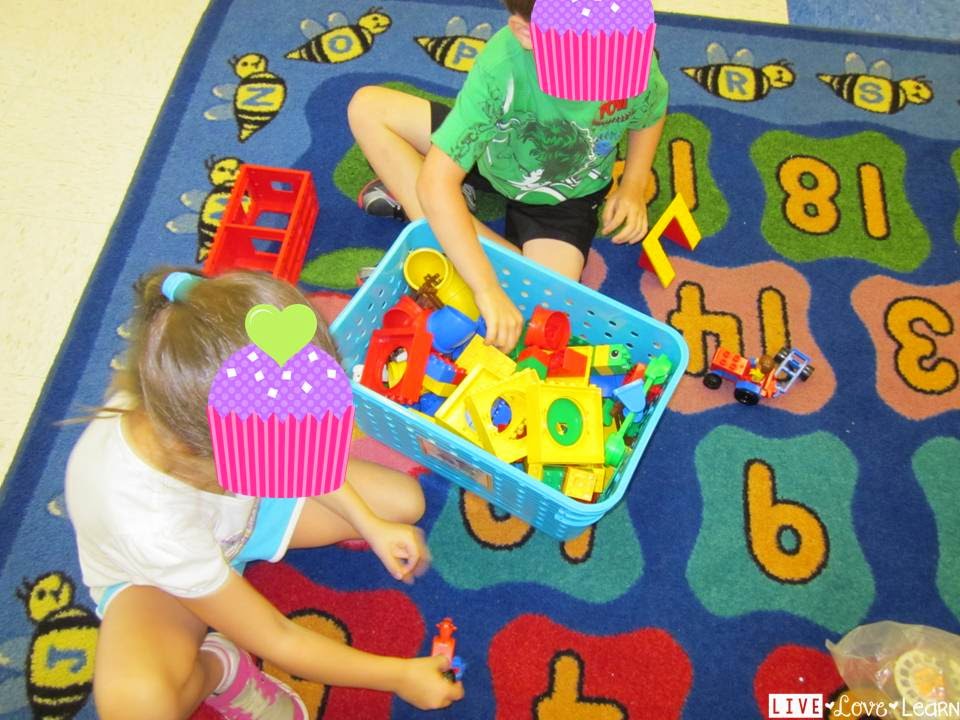
Block Dock
Puzzles
Observation Station
Creation Station
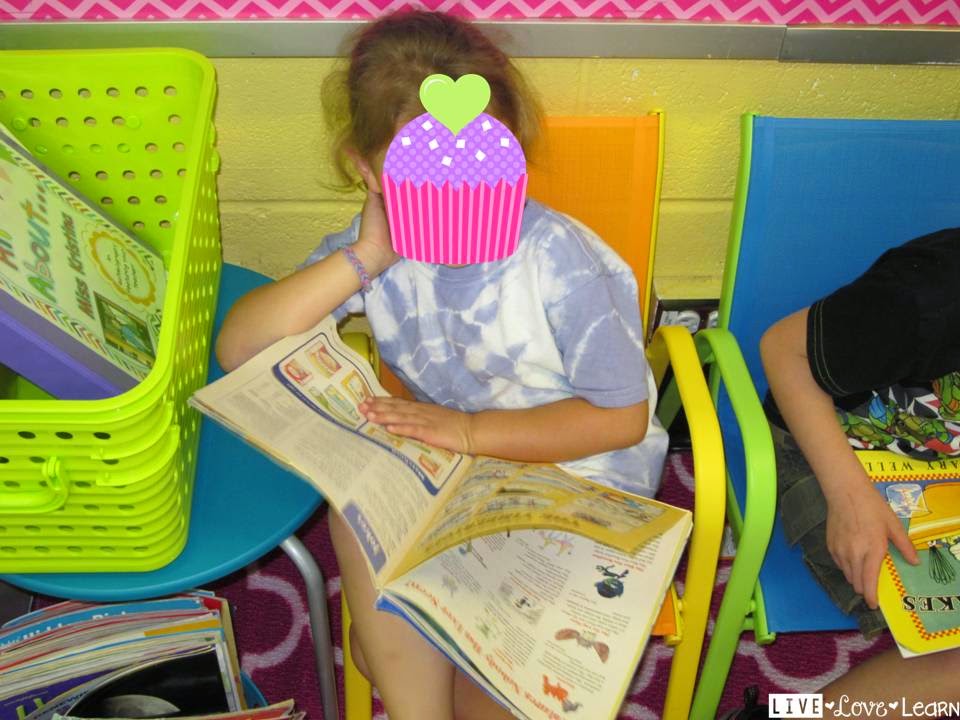
Book Nook
I wish I could have shown this girls sweet face. She's too cute sitting there reading her magazine!
The cards I used to label my centers and in my management pocket chart are available here in my TpT store.
The set includes:
Center Labels
There are 3 different sized cards for labeling baskets, center walls, and for your management chart.
I used the medium sized cards in my pocket chart for center management and the smaller cards to label baskets in each center.
(If you have special names for your centers, like I do, this is an easy fix because this file is editable. Just create a shape over the existing center name, change the shape to white filled and white border. Then create a text box and type your own center name in. Just change the font and size to fit on the page. I'm pretty sure I used KG Fonts "Corner of the Sky" which is a free font download on TpT)
Name Cards
Cards for group member names
Just add text boxes to the document or print, laminate, and write names with an sharpie or dry-erase marker so that you can change names later.
Individual name cards (in case you want to switch things up often)
These are cards I used. I just inserted pictures of each student in each group onto the cards.
Center Cards
another set because you can never have too many
Great for center rules or I can statements for each center.
Just print, laminate, and write on with a dry-erase marker.
Just print, laminate, and write on with a dry-erase marker.
Center Management Pages
Keep track of which centers and activities you've used. Plan centers, make a list of which materials you need, what standards are being assessed, keep track of who is in each center, etc.
If you're having behavior problems during centers, use incentive charts. Give a sticker to the center groups that worked well together and cleaned up materials properly. Offer a reward for so many stickers.
As you can tell, I love centers. I'll share more center ideas as the year goes on.
See ya then!
See ya then!


No comments:
Post a Comment